The three stop modes
These are modes of the electronic stop, not of the ELS. They are the point of the project — but they are not mandatory, and it is worth knowing what sits underneath them.
Underneath: a plain ELS
Spindle-synchronised feed is a separate, lower layer. syncEnable on a scale
input is independent of the ELS stop feature: a turning spindle drives the
leadscrew through sync whether or not a threading job is armed.
So you can run Reflex as a traditional electronic leadscrew — pick a pitch, enable sync, and cut with the half nut and your own eyes, disengaging the stop entirely. Collapse the advanced bar with ADV and the screen is a DRO with a leadscrew behind it.
Everything below adds an electronic stop on top of that.
The three stop modes
All three work for plain turning as well as threading — pick a feed rate instead of a pitch and the stop behaves the same way. Threading is simply where the machine earns its keep, so that is what the rest of this guide is about.
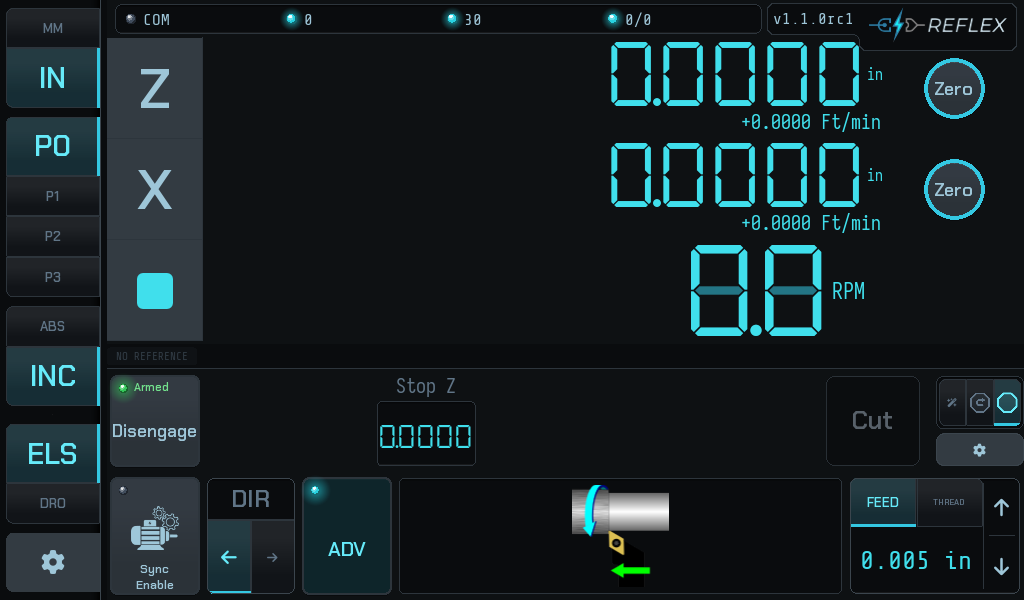
They cut the same thread. What changes is how much you set up first and how much you do by hand between passes. Cycle between them with the tri-state tab at the right of the advanced bar.
None of them is safer than the others
The take-up confirmation, the stop itself and the thread datum are the same code in all three. What differs is how much of the handling is automated.
Stop-only
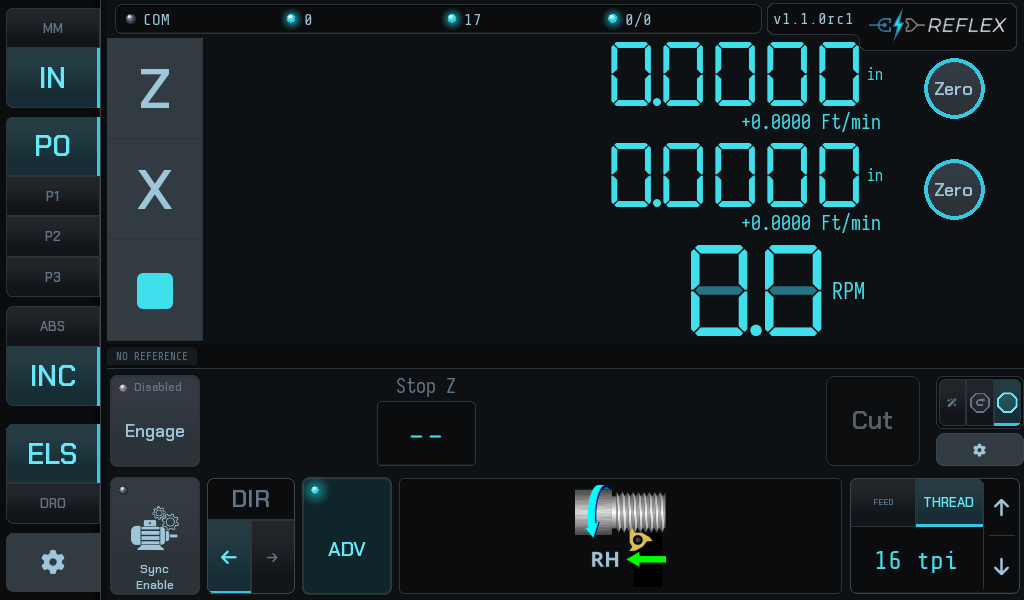
One field: Stop Z.
Set the shoulder, engage, press Cut, and the carriage feeds to the stop and holds. Everything else — backing the tool out, returning the carriage, taking the next depth of cut — is yours, exactly as on a manual lathe fitted with a carriage stop.
This is the mode with the least to get wrong, and it is what the author runs on his own machine.
Stop + retract
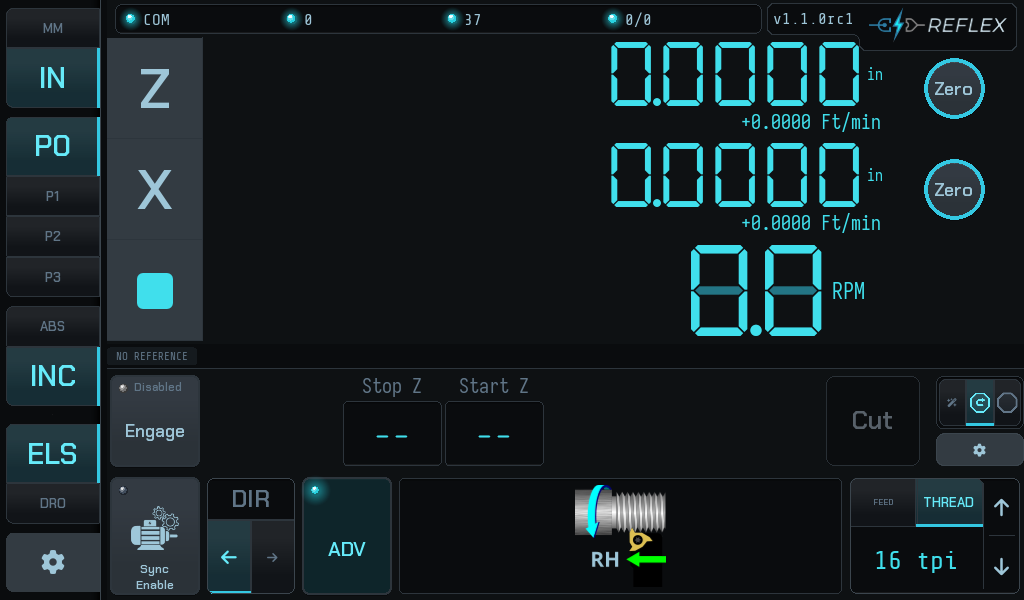
Adds Start Z, and a Retract action on the same button that says Cut.
Nothing moves on its own. There is one servo and it drives the leadscrew, so the tool never comes out by itself — backing off in X is your hand, in every mode. And the carriage does not return until you press Retract. What the mode adds is the ability to command that return under power instead of winding the carriage back.
Get the tool clear before you press Retract
Retract feeds the carriage back to Start Z under power. If the tool is still in the groove it is dragged back along the thread, and you will have a bad time.
In wizard mode the machine helps: the committed Start ø gates the button, which stays disabled reading "Move X clear of start diameter, then retract". In stop + retract there is no committed diameter to compare against, so that gate is vacuous and nothing catches this mistake for you.
It is the main reason the author does not often use this mode.
Wizard
The guided setup. Instead of typing values into fields you drive the machine to each position and press Set, and the bar tells you what it wants next.
-
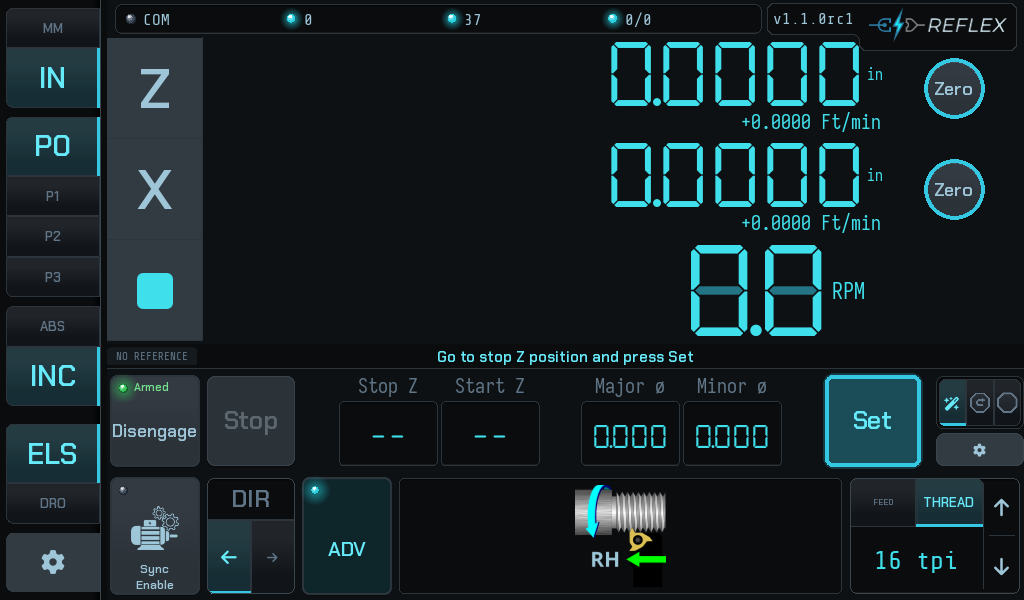
1 — Stop Z. Run the carriage to the shoulder and press Set. This is the one value every mode needs.
-
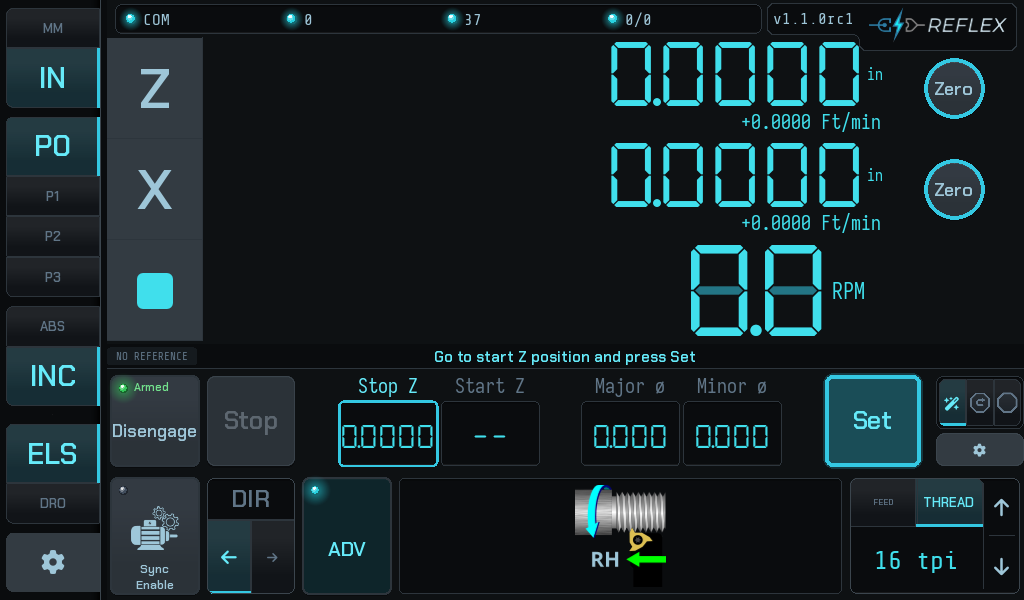
2 — Start Z. Run back to where each pass should begin. The retract returns here.
-
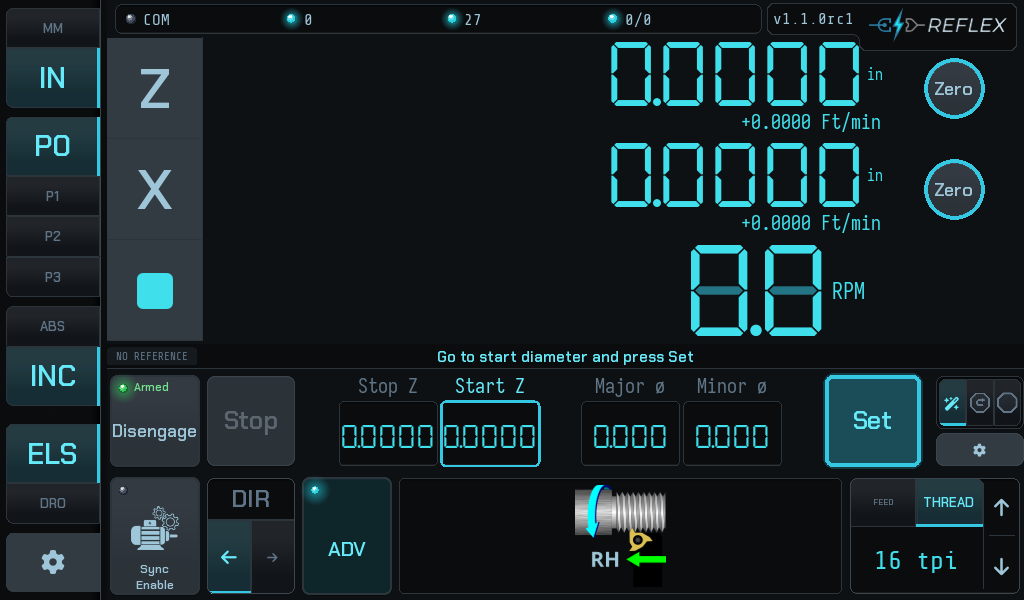
3 — Start ø. Bring the tool to the work and press Set. The field being captured is outlined.
-
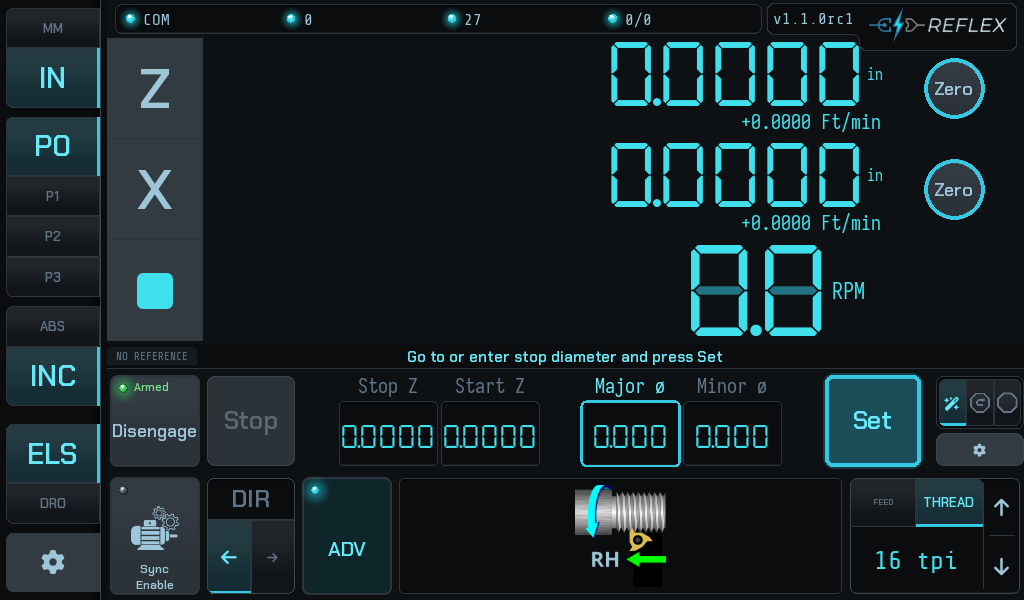
4 — Stop ø. The finished diameter. Drive to it, or type it in.
-
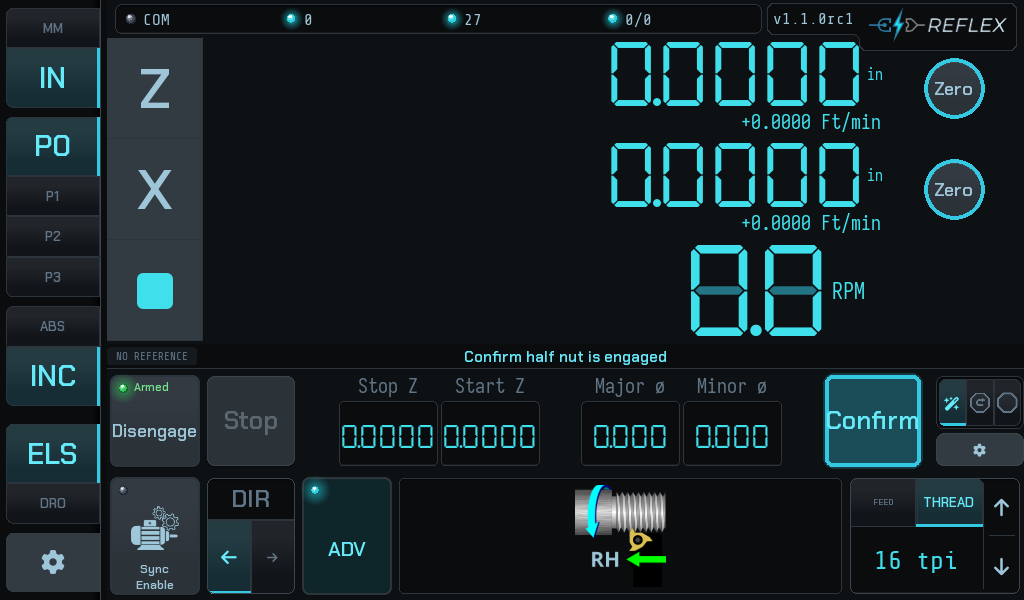
5 — Confirm. The one thing the controller cannot check for you is the half nut. It asks.
-
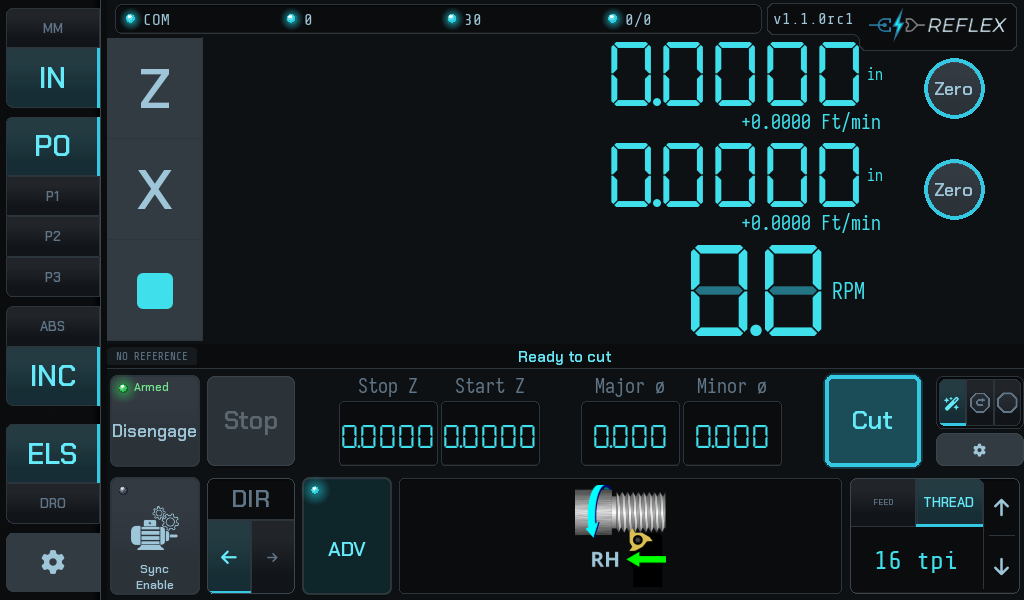
6 — Ready. The button becomes Cut, and the cycle runs Cut → Retract → Cut.
The prompt above the fields is the wizard's whole interface: it names the next value, the field it will land in is outlined, and the action button reads what pressing it will do. Nothing is captured until you press Set, so you can drive past a position and come back.
Phase re-sync applies to all three
A point worth making here rather than under one mode: stopping decouples sync. The firmware pauses spindle sync while the stop is active, so after every pass the leadscrew is no longer phase-locked to the spindle — whether or not you moved the carriage afterwards.
That means a re-sync is required in every stop mode, and it happens automatically: the controller re-derives thread phase from the Z scale, which does not care what the half nut has been doing.
If anything it matters most in stop-only, where there is no electronic retract at all and the carriage returns entirely by hand. The controller still puts the next pass in the same groove.
This is a different thing from picking up an existing thread, which is a manual procedure for work this job did not cut.
The two advanced features are threading-only
Picking up a thread and widening a groove both need a thread pitch, so neither has any meaning in feed mode. Both refuse there rather than walking a procedure that could not succeed — the offset always has, and the pick-up wizard was given the same gate on 2026-08-30 after it turned out to be missing.
Choosing
The wizard puts the most machinery between you and the cut; stop-only the least, and a plain ELS with the stop disengaged is less still. If you already know your numbers, typing them into stop + retract is faster than walking the wizard. If you are setting up a part you have not cut before, the wizard stops you forgetting a value.