Picking up an existing thread
Re-establishing the thread reference on work this job did not cut — a re-chucked part, a thread cut elsewhere, a damaged thread being chased. The controller cannot know where the existing helix is, so you show it, and it latches a datum at that instant. From then on every pass follows the existing groove.
Threading only
A thread reference means nothing without a thread pitch, so the wizard refuses in feed mode before you touch anything: "No thread pitch is set — turning has no thread phase to pick up. Choose a threading mode and a pitch, then engage the ELS stop."
That gate was added 2026-08-30. Until then the wizard would walk its whole procedure in feed mode and latch a reference the machine had no use for.
Where to find it
Both advanced features live behind the gear on the advanced ELS bar, at the bottom of the ELS settings:
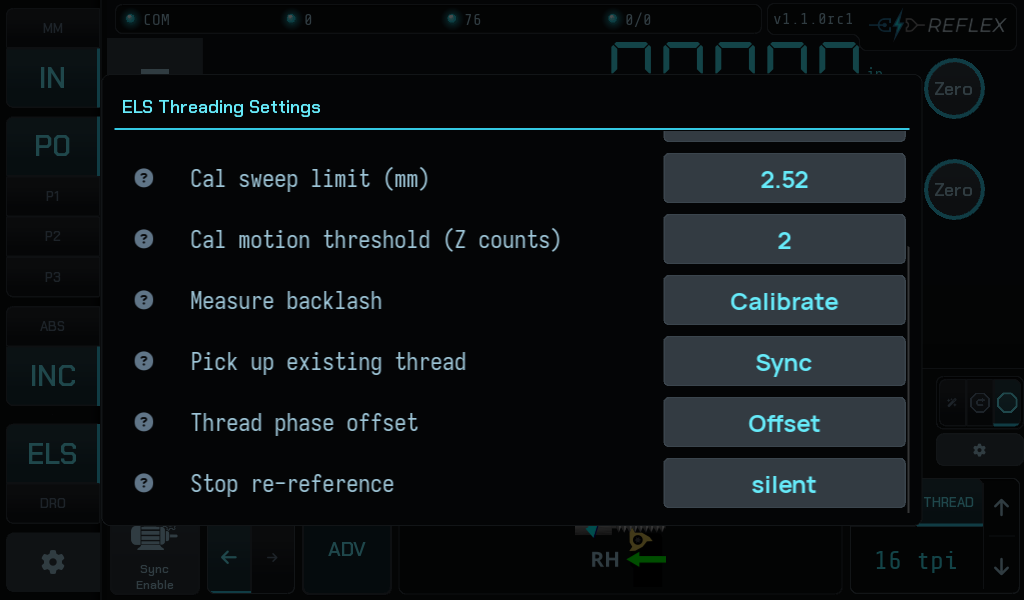
1 — Seat the carriage
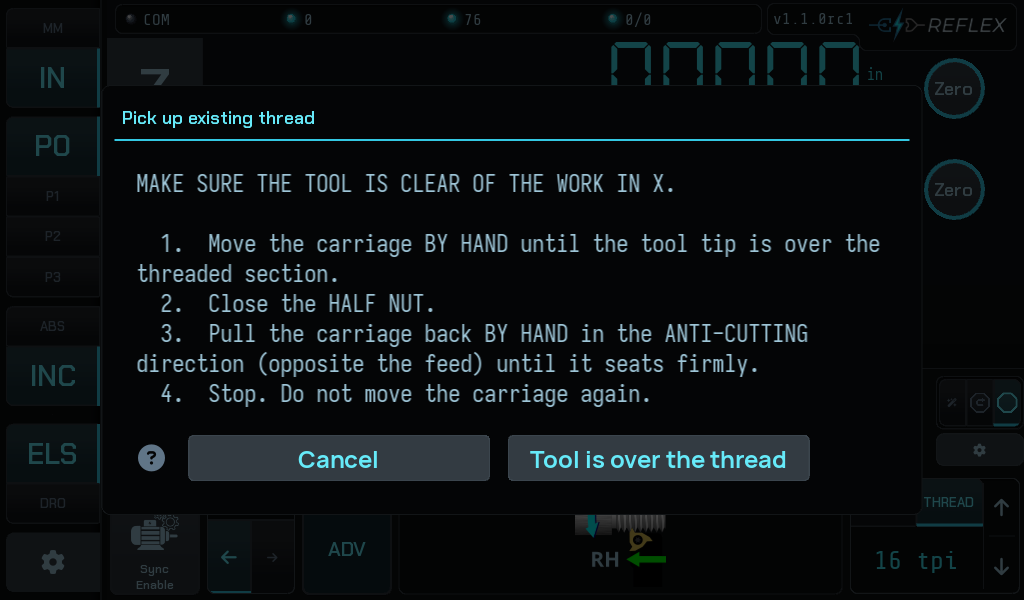
The first screen is about the carriage, and it opens with a warning:
MAKE SURE THE TOOL IS CLEAR OF THE WORK IN X.
Then:
- Move the carriage by hand until the tool tip is over the threaded section.
- Close the half nut.
- Pull the carriage back by hand in the anti-cutting direction — opposite the feed — until it seats firmly.
- Stop. Do not move the carriage again.
Why anti-cutting, and why it matters
The half nut sits on the leadscrew with free play. Pulling against the feed seats the carriage on the flank the leadscrew pushes from during a pass, so the reference is taken with that play already used up.
Seated the other way, the first pass begins by falling through the free play, and the reference is off by the whole clearance.
The tool must be clear in X because the software cannot know the major diameter — nothing can stop the tool touching the work while you move the carriage by hand.
2 — Ease the tool into the groove
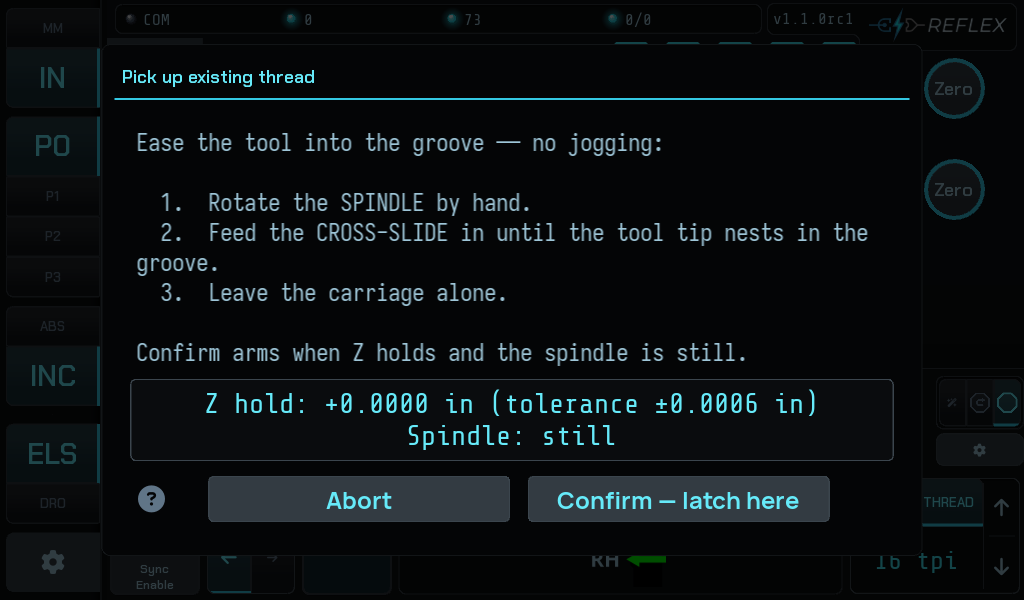
Now the tool, with the carriage left alone:
- Rotate the spindle by hand.
- Feed the cross-slide in until the tool tip nests in the groove.
- Leave the carriage alone.
Two conditions have to hold at once before Confirm arms:
- Z holds within tolerance of the position you seated it at.
- The spindle is still — shown as a settling percentage while it decays.
The readout gives both live, in your display units. The tolerance shown — ±0.0006 in here — is three scale counts: this is a tight check, and it is meant to be. From the seat onward, the carriage position is the reference.
3 — If the carriage drifts
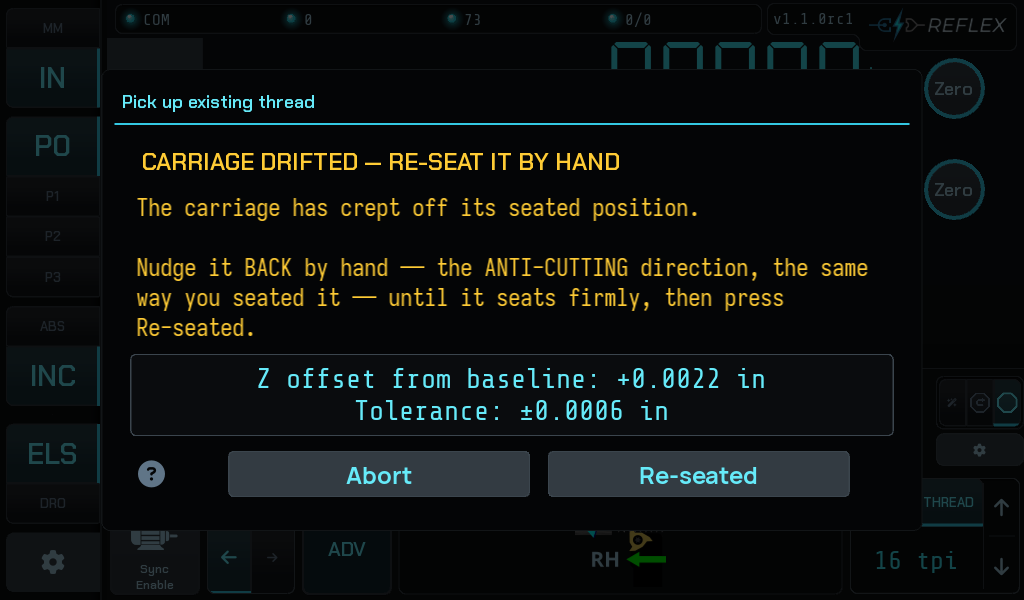
The same free play that lets you seat the carriage also lets it creep toward the cut. If Z leaves tolerance, the screen switches to a re-seat:
The carriage has crept off its seated position. Nudge it back by hand — the anti-cutting direction, the same way you seated it — until it seats firmly, then press Re-seated.
The frame above shows +0.0022 in of drift against a ±0.0006 in tolerance: under three thousandths, and already too much.
A re-seat that lands within tolerance returns you to alignment, and it has positively proven the Z chain is reading — which is worth something on its own.
4 — Latched
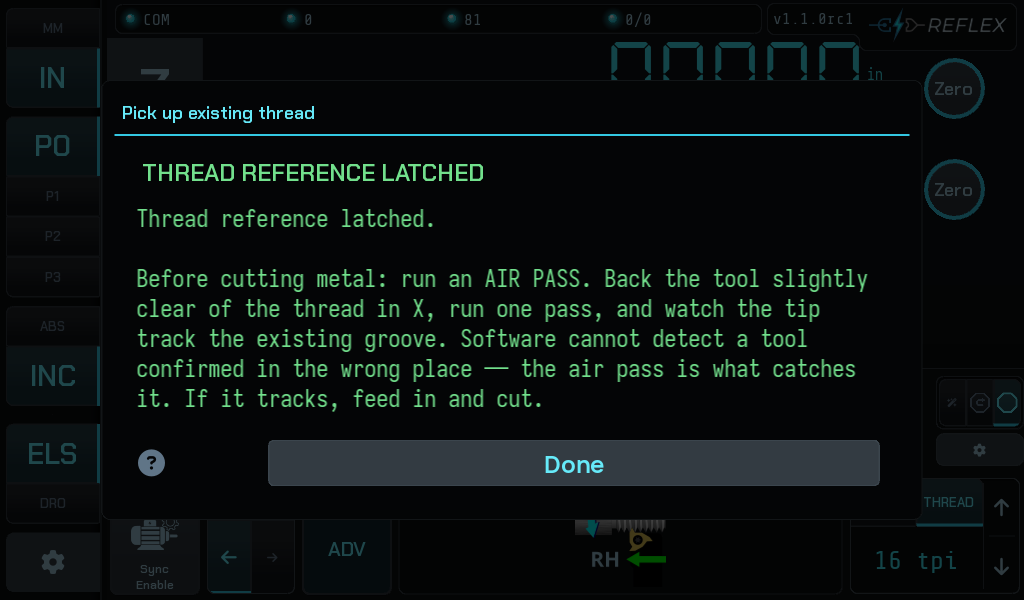
The reference chip in the gutter goes to REF LATCHED, and the screen tells you
the one thing that matters next:
Before cutting metal: run an air pass. Back the tool slightly clear of the thread in X, run one pass, and watch the tip track the existing groove.
Do it. Software cannot detect a tool confirmed in the wrong place; watching the tip track the existing groove is the only check that can. If it tracks, feed in and cut.
When it will not latch
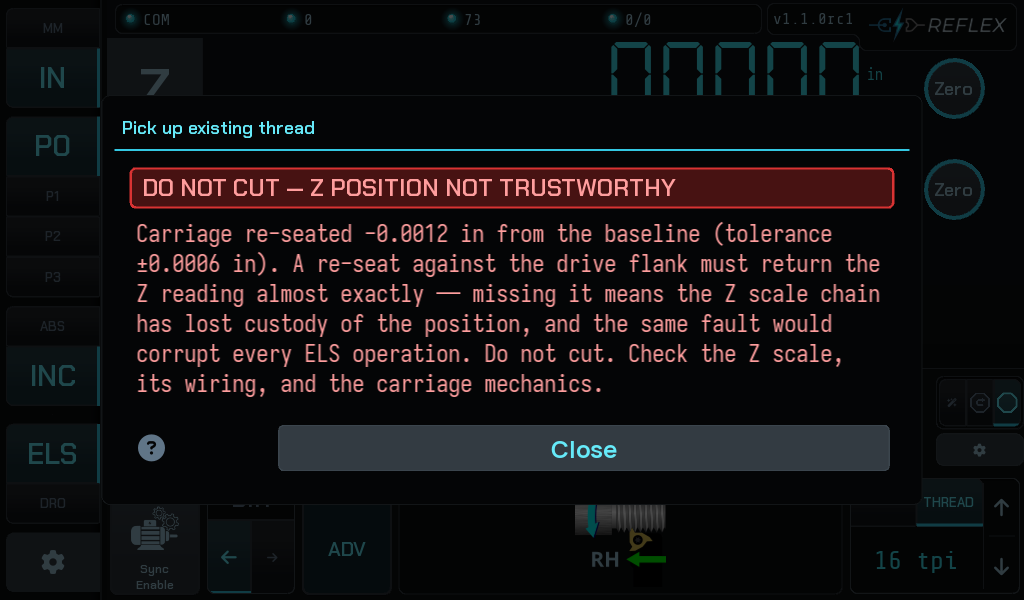
A re-seat that misses the baseline, or a controller that latches somewhere the screen was not watching, is a red flag — not a retry:
A re-seat against the drive flank must return the Z reading almost exactly — missing it means the Z scale chain has lost custody of the position, and the same fault would corrupt every ELS operation. Do not cut.
Check the Z scale, its wiring and the carriage mechanics before doing anything else with the machine. This is not a threading problem; it is a measurement problem, and it would quietly ruin ordinary feeding too.
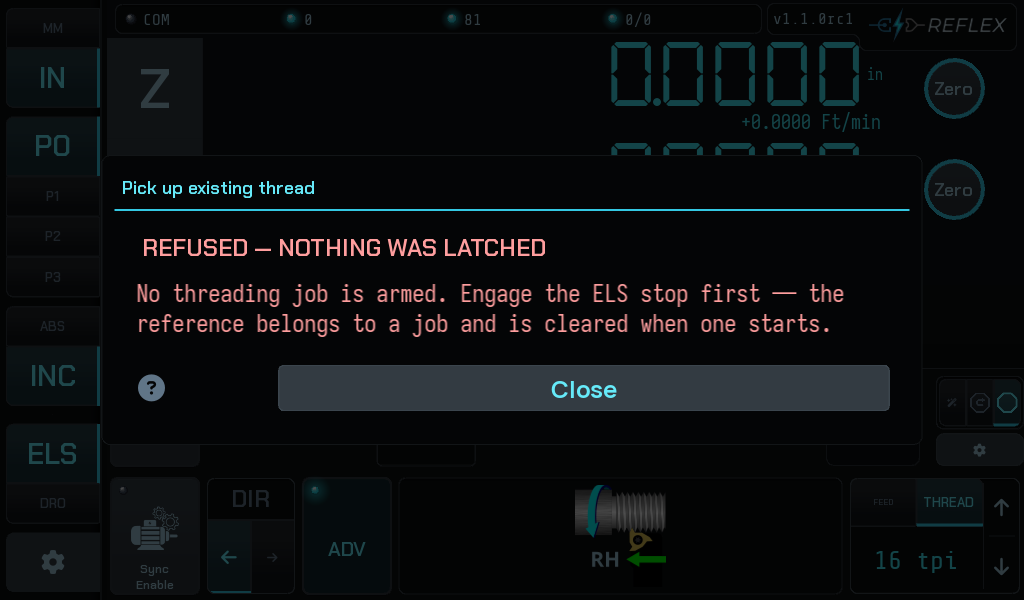
And if no Z or spindle axis is mapped, the procedure refuses before it starts. That is a commissioning gap, not a fault.